Generation gap

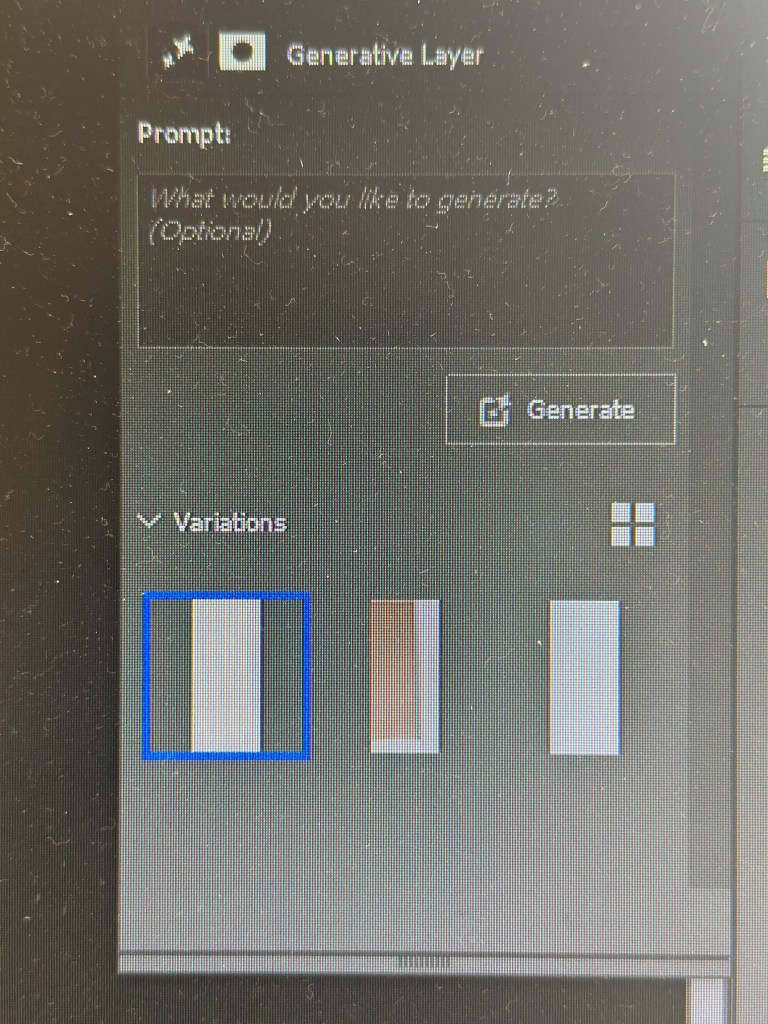
In my previous blog post Panic at the packaging factory? I mentioned that I had used Photoshop to fill in the gaps in the upper corners of an image background. Due to the short time I had to finish the job, I used the eyedropper tool to sample the background colour and then painted in the corners using a brush. This worked fine because the background was almost white, and there was no significant colour gradient next to the area I needed to fill.

I was subsequently asked to create some similar shots and, with more time to do the post-processing, decided to try the Generative Fill option in Photoshop instead. This is a relatively new and powerful update, but what I wanted it to do was just the tip of the iceberg of what it can potentially add (or take away).

Generative Fill is available from Adobe Photoshop version 25.0 onwards.

As shot

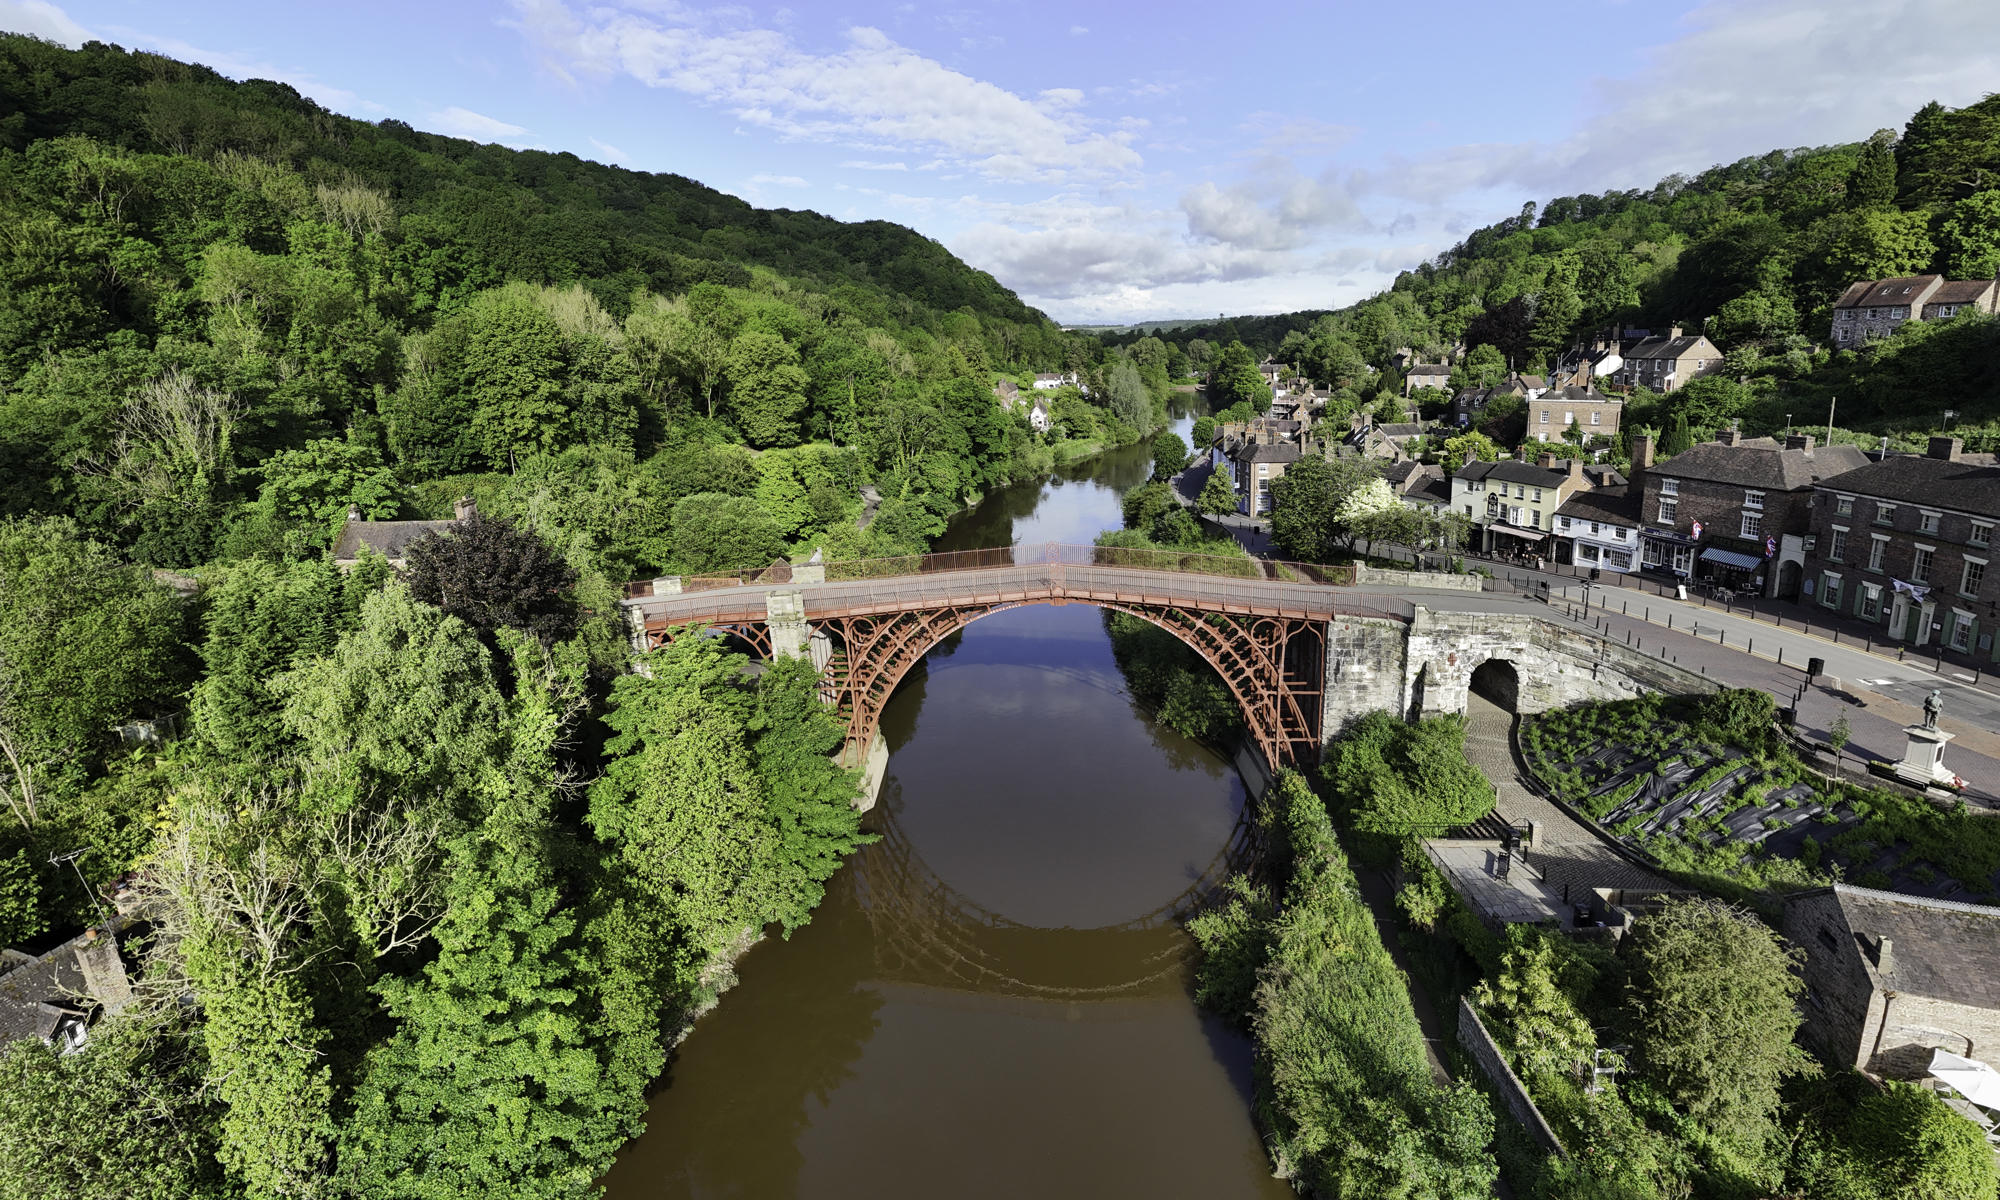
With the image open in Photoshop, I needed to select the area with the missing background, so I chose the lasso tool and traced around as close as possible. As I completed the selection, the floating Contextual taskbar automatically changed to the Generative Fill taskbar.

Note: If you can’t see the Contextual taskbar then click on Window in the Menu bar and look towards the bottom of the long dropdown list and make sure that Contextual Task Bar is ticked.

I pressed the Generative Fill button and then the Generate button. By leaving the “What would you like to generate” box empty, Photoshop automatically filled the area with content based on its immediate surroundings.

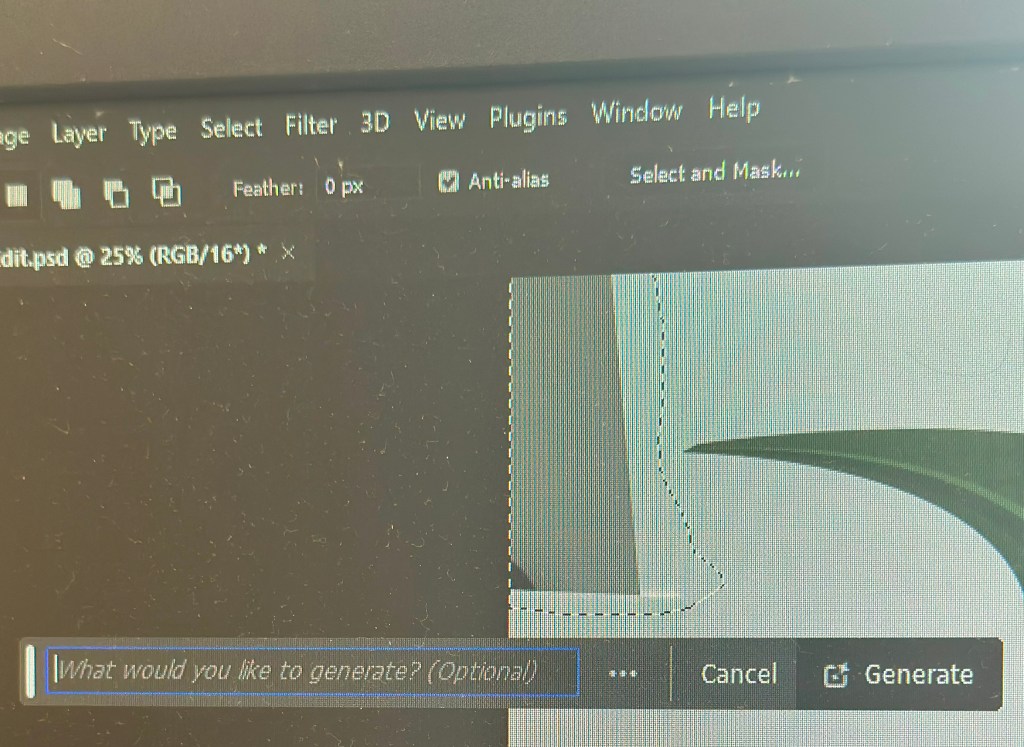
It takes a little time but this is indicated by a progress bar.

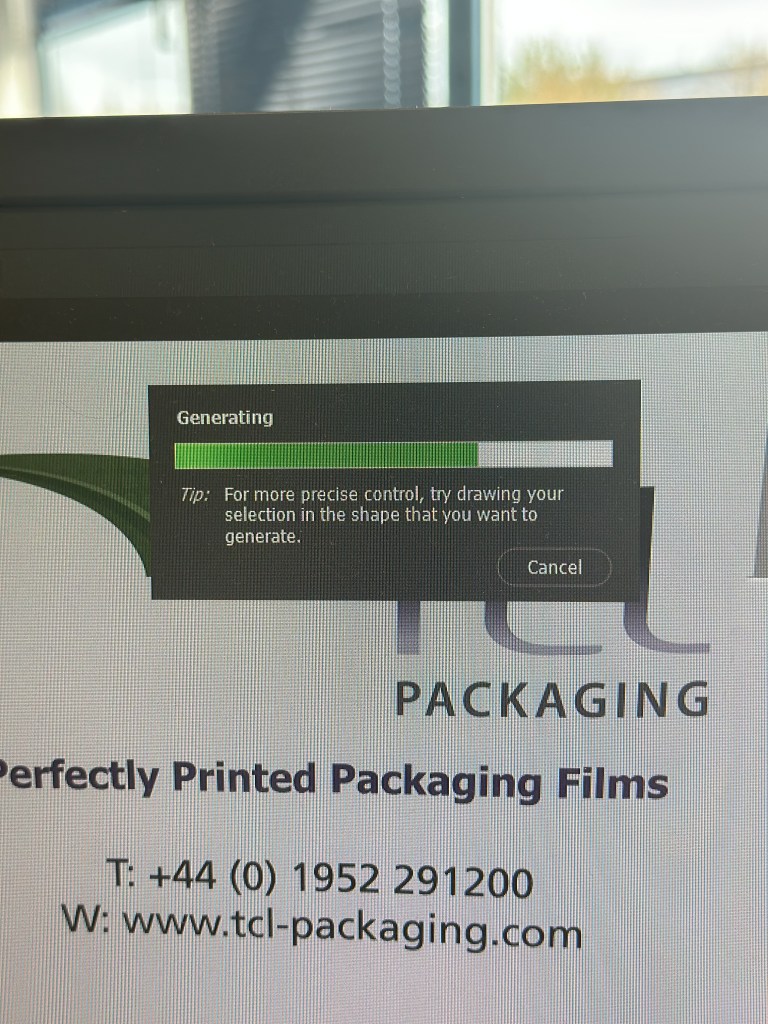
It will then apply the generated content onto the image, but also give you another two variations in the Generative Layer panel to the right. You can press Generate again if you are not happy with the initial three offerings.

The generated image is applied as a layer so you can always go back and change it later if you want.

Generative Fill uses Artificial Intelligence (AI) to decide what to add to the image. In the case above it was used as a shortcut to fill in an area of missing background, but, of course, it could have been used to add something else entirely, maybe something that may be seen as being slightly dishonest. This is the conundrum facing photographers: what is acceptable and what is not? Of course, this is not a new phenomenon; the Cottingley Fairies photographs from 1917 are early examples of ‘generative fill’, albeit without sophisticated software.

Panic at the packaging factory?

What do you do when you are asked to produce some marketing shots in an hour, and your photography gear is 5 miles away at home? Panic? No, improvise.

I used the camera in my pocket (my trusty iPhone), made a makeshift studio by setting up a table in one of the meeting rooms and purloined a marketing pop-up banner from the Sales department to use as a backdrop. It is 6 feet high, so I used some gaffer tape to allow it to remain ‘popped-up’ at a more practical 4 feet. It is also quite narrow and left areas on either side without any background, so I used some white foam board on both sides, knowing that I would need to blend them in during post-processing. I positioned the packaging samples in an arrangement that I thought was ‘artistic’ and used Portrait mode on the iPhone, which I know gives a good result for product shots, as well as people portraits.

Fortunately, I have both Lightroom and Photoshop on my laptop, and with two large monitors attached, I could do the post-processing immediately. Lightroom is more than adequate for these relatively simple edits, and I only used Photoshop to fill in the upper corners where there was no white background. For example, Lightroom’s healing brush made light work of removing the join between the two tables I used as a base.

As shot

The only slight faux pas was that when I emailed over the first proof, the comment I received back was that the editing of the background in the upper corners was noticeable. It had looked acceptable to me, but I quickly realised that the contrast on one of the monitors was set incorrectly and over-exposed my view during the post-processing. Once Lightroom was dragged over onto the other monitor, I could see the issue and was able to quickly adjust the exposure to rectify the problem.

Of course, it didn’t take long before I got the dreaded “while you are doing that, can you do this” and so I also ended up taking some individual shots ‘on white’. I used the two aforementioned foam boards in an ‘L’ configuration to make the background as light as possible and then, in Lightroom, used ‘select subject’, inverted it to select the background, and then over-exposed it to make the background completely white. Once again, Lightroom produced a result in seconds, formerly only possible in Photoshop. Five of the images are being used for a display stand at a forthcoming exhibition.

As shot
After Post Processing

Coincidentally, Lightroom had an update this week which added some more tools, including a beta version of lens blur. If only they could add layers, photographers wouldn’t need Photoshop at all.

Hooked on composites

Here is another composite which combines a studio shot with a shot taken out-and-about. I am getting quite ‘hooked’ on doing these composites because with each one I am learning a little bit more about:

  • Planning the concept of the composite beforehand
  • Taking the studio shot in a way that will make the selection easier to cut out in post-processing.
  • Finding a background that complements the studio shot in respect to lighting & perspective.
  • Making the selection of the studio shot in post-processing such that it isn’t obviously cut-out when I remove the original background.
  • Adding a new background and blending it in.

Quite what the commercial rewards are for this type of shot remains to be seen but at least I’m enjoying the ride.

“Hooked”

The hook & chain has been hanging in one of our sheds for many years and probably came from an old industrial tramway that ran behind our property between a small clay mine and the nearby Blists Hill brickworks. It looks as if it may have been used to connect the narrow-gauge goods wagons to each other which I’m assuming were horse-drawn. The site of the Blists Hill brickworks is now a Victorian Town museum which, coincidentally, was where I took the background shot during my ‘Day at the museum‘.

I hung the hook & chain to an overhead wire in front of my 18% neutral-grey collapsible background. It was an easy shot to take lit either side by two strobes each fitted with 28″ x 20″ softbox. The selection was made in post-processing and an image of a re-creation of a Victorian iron foundry was processed as the background.

First composite attempt

I have decided to try and create some composite images. These are going to be based on some studio shots of various objects (old tools, for example) with a background added in Photoshop. I have been studying how to do this successfully and here is my first attempt. Much more work to be done but it’s a start that I’m quite pleased with.

Chisels