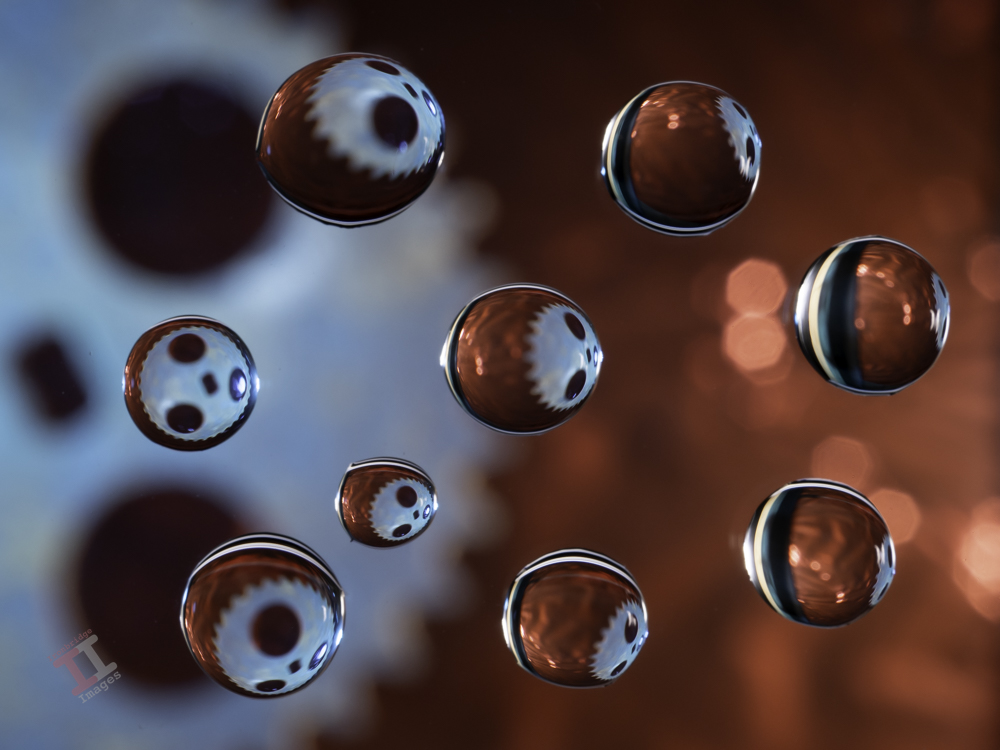
It has been some time since I started this project of photographing water droplets on glass – and thus far I have only managed one image. Until now. Here is the second image and, with an upgraded photography studio, I now have much more control over the process which will hopefully produce some interesting results.
beta β (AKA: Tears of Love)
Subscribe now to keep up-to-date with my Hydro Droplet journey. Later in the series I’ll describe how I achieve these images.
There are 24 letters in the Greek alphabet, and it is considered to be the root of most modern European alphabets used today (even the word ‘alphabet’ is derived from the first letter). It has been in use since the 8th Century BC. It is still used today, albeit usually as technical symbols.Each image in the Hydro Droplet project will take the title of one of these letters.
The basic premise of Hydro Droplets photography is that a droplet (or sphere) of water will refract an extremely wide-angle view of its surroundings (similar to a fisheye lens). By controlling the position of multiple droplets, fascinating patterns can be created, both by the droplets themselves and by the view that they refract.
This is the first of a series of 24 Hydro Droplet images, each of which will be titled with a letter of the Greek alphabet.
I haven’t done much flower photography recently – and certainly not since I changed cameras to the Micro-Four-Thirds Olympus OM-D E-M1 Mark III, with its M Zuiko 12-100mm f4 IS PRO lens. However, as I passed by a flowering fuchsia in one of our garden planters the other morning, I felt that is was really worth a photograph and so tried the above combo to see how it turned out.
Hand-held at 1/100s and ISO250, I am very pleased with the result. It is quite sharp with minimal noise and at f/4 it has made the background brick wall nicely out-of-focus.
I really should do more of these flora shots, particularly whilst the garden is in full bloom.
Once you have completed your set of Painting with lightimages, you can import those images from your camera into your chosen post-processing software. If you use presets during the import process, ensure they apply to every image in the set.
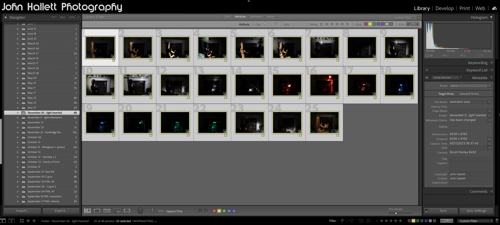
Personally, I import into Adobe Lightroom. I can then quickly scan through the images and delete duplicates or apparent failures. It is crucial at this stage not to crop any of the images or make any adjustments that will make it difficult to blend in with the others (white balance, for example) later on.
Because I will be using multiple images and blending them into one composite, I need to work with layers – and since Lightroom cannot do that (yet), I transfer the chosen images into Adobe Photoshop for the actual creation of the composite. To do this, I select them all, right-click and choose ‘Edit in Photoshop as individual layers’. This will open Photoshop with all the shots as one file in a series of layers created from each torch-lit shot.
At this point, you can do some housekeeping of the layers. For example, change the order they show or label them with identifying names. You also need to switch off the visibility of all layers (apart from your background layer) so that you can build up the composite one by one.
As you save this file in Photoshop during post-processing, it will automatically show in Lightroom, making it very handy for subsequent cataloguing and exporting. I will cover the post-processing in the next blog post.
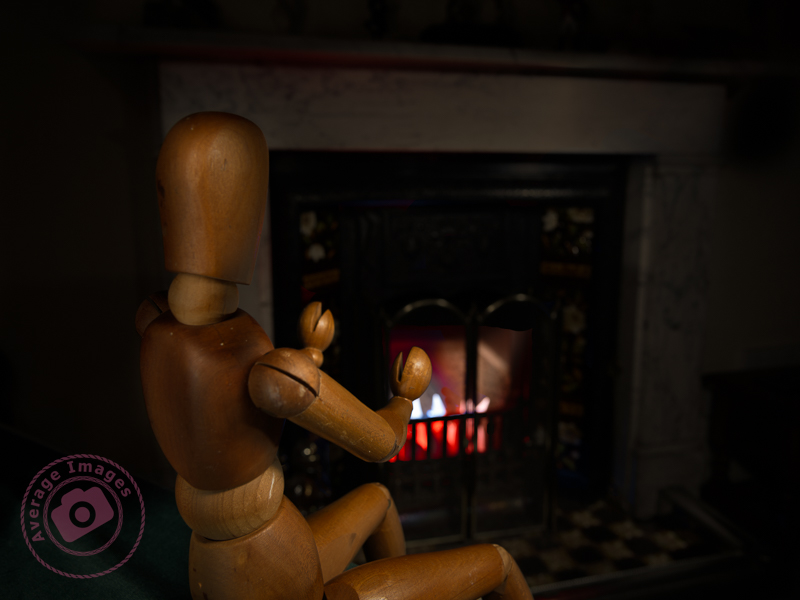
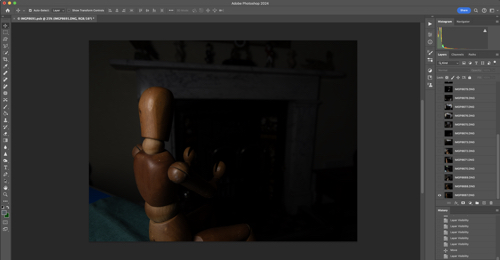
The featured shot “Warm hands” uses a phenomena called ‘Extension Distortion‘, which is a type of perspective distortion caused by wide angle lenses. It makes nearby objects appear much larger than they actually are compared to the background. I used it here to make the mannequin (which is only 40cm tall) look life-size, compared with the large fireplace behind, by using a 30mm focal length, with the camera positioned quite close to the subject.
We stopped using the fireplace last year due to smokeless fuel (which is pretty much all that you can get now) burning so badly, and giving out so little heat, that it isn’t worth the time and effort lighting it. Therefore, to give the effect of a blazing fire, I placed some white paper into the fire grate and used coloured gels over the torch as I painted the light onto it.
This is one of the benefits of the Painting with light process – it would have been challenging to create the same effect with studio lighting.
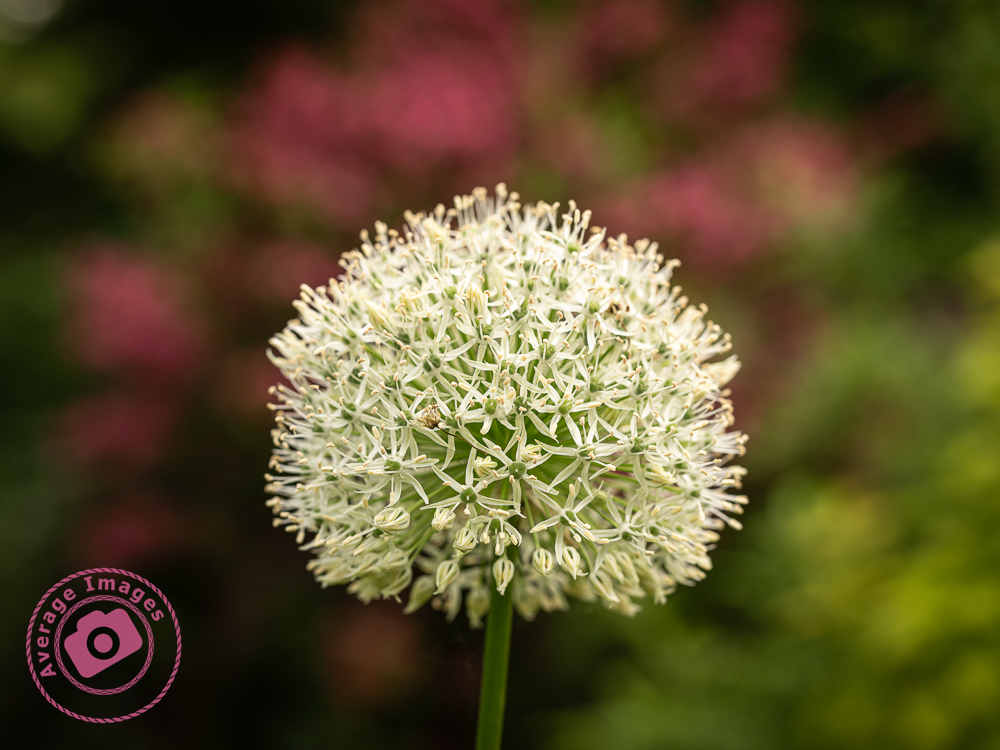
With June just around the corner the flowers are blooming almost as well as the weeds are growing. Here are a few photographs from another early morning walk around the garden;
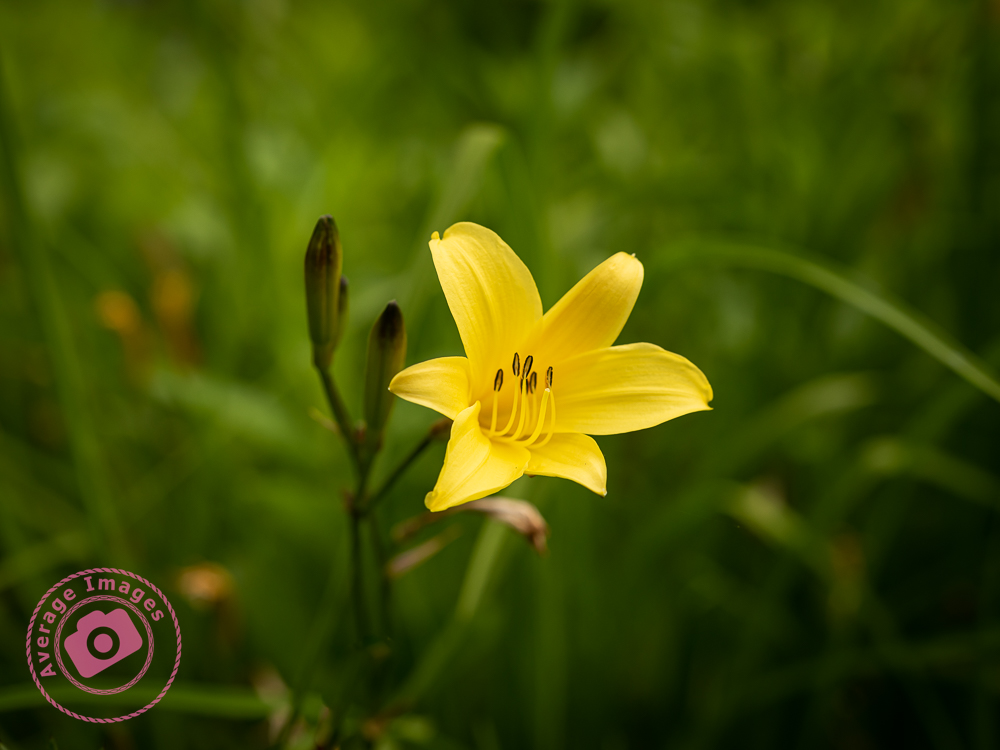
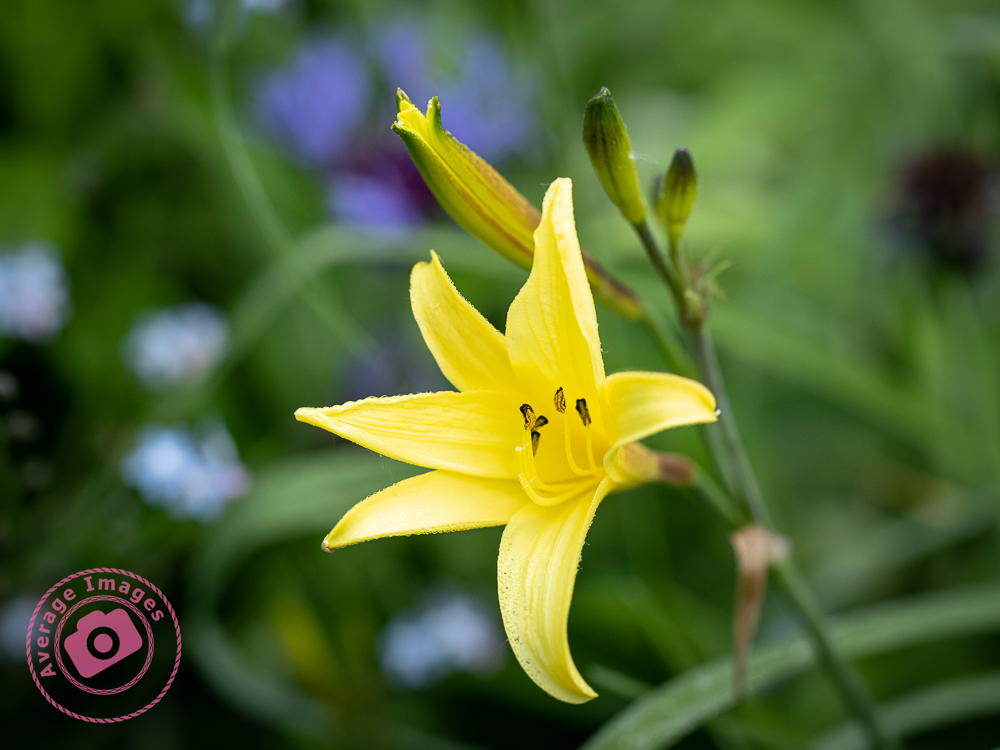
With Summer weather finally upon us (for a short time, at least), I have been spending most of my weekends in the garden, usually mowing and strimming grass and weeds. During this time, I have noticed several blooms that deserve to be captured photographically, but any time after about 10am the sun is just too strong and bright to do them any justice. Therefore I was out at 7am taking the following images before I set off to work.
Yellow daylily Hemerocallis
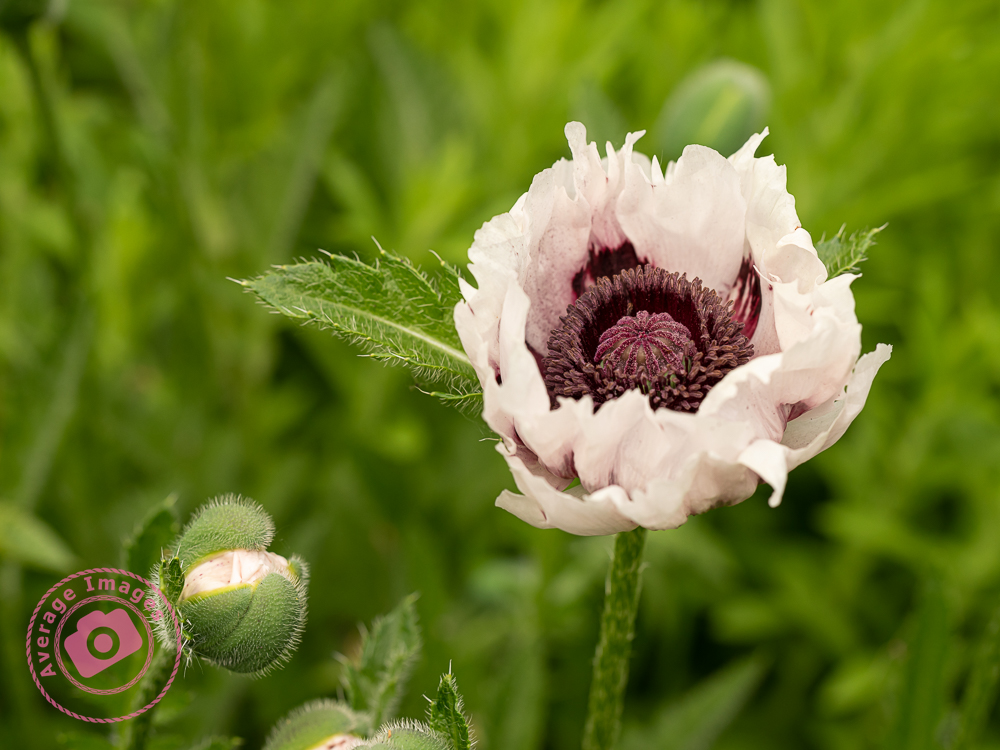
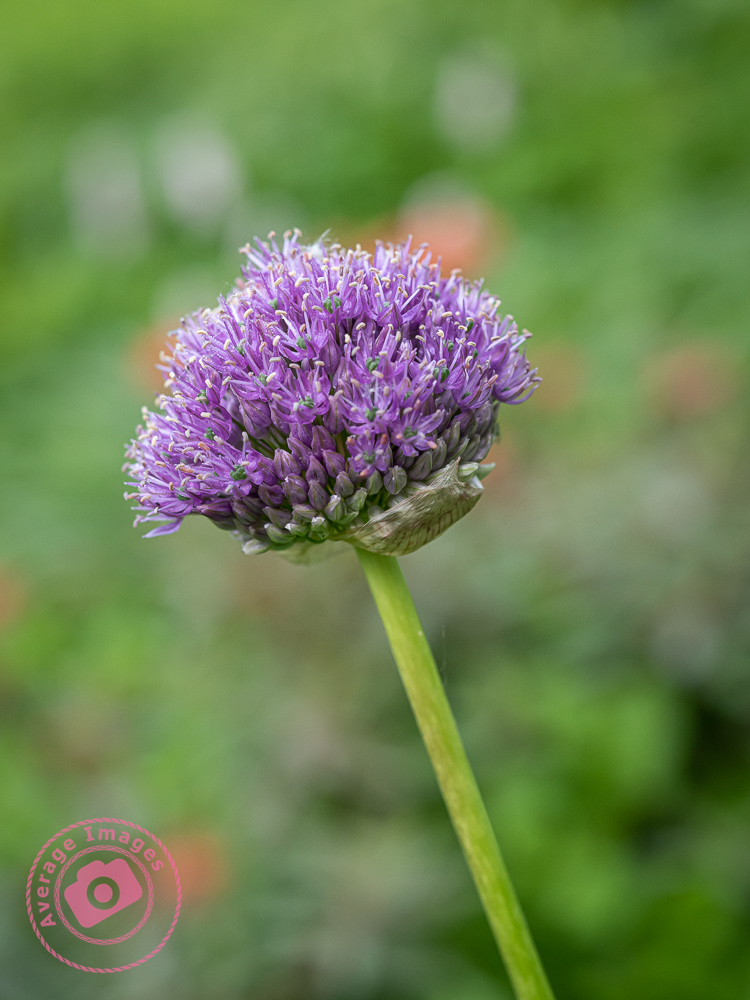
I should mention that I am currently utilising the style of flower photography extolled by the photographer Dirk Ercken; in other words, I don’t use a tripod and hand-hold the camera whilst attempting to find the best background. Focussing is achieved by fine movements backwards and forwards to get the desired chosen part of the flower in focus. Numerous shots are taken to optimise these fine differences in the focal point so that the best image can be chosen in post-processing.
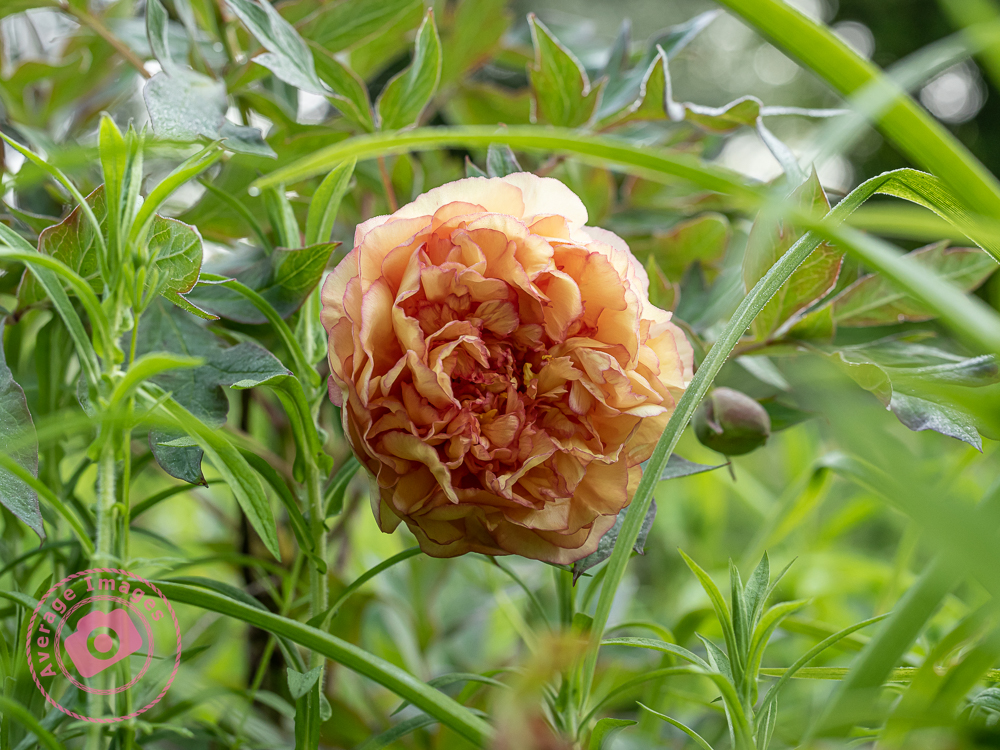
Tree peony Paeonia
Not being tied to a tripod makes the composition much more fluid, and I am enjoying the process far more – even though it goes against the more commonly held view that tripods and clamps should be used to minimise any camera or subject movement.
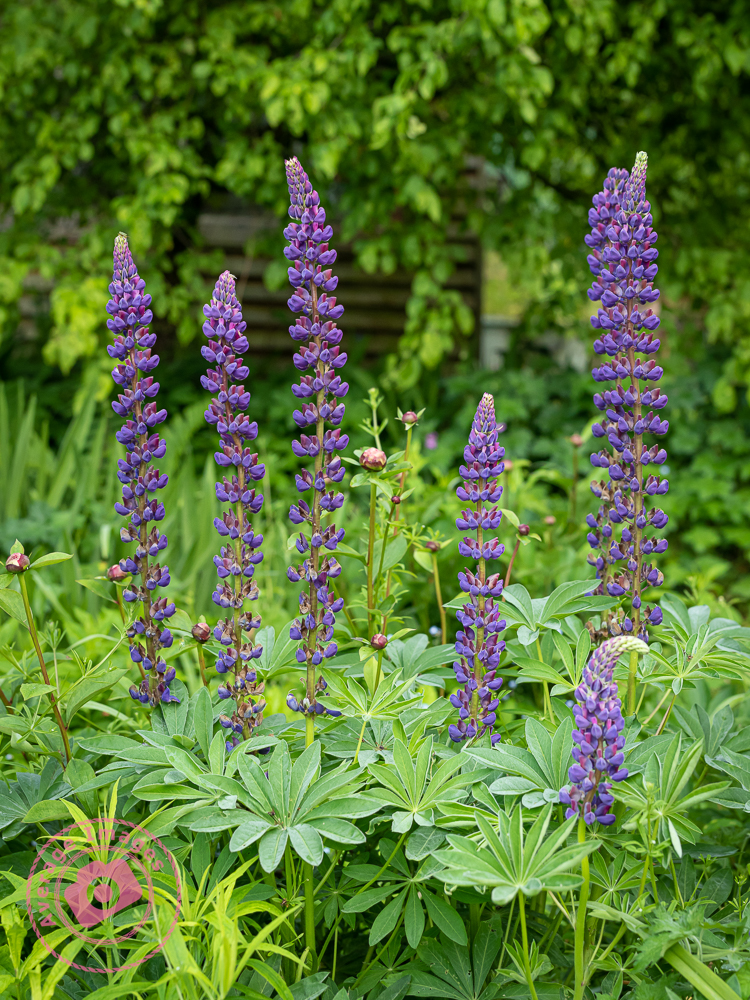
Garden Lupine Lupinus
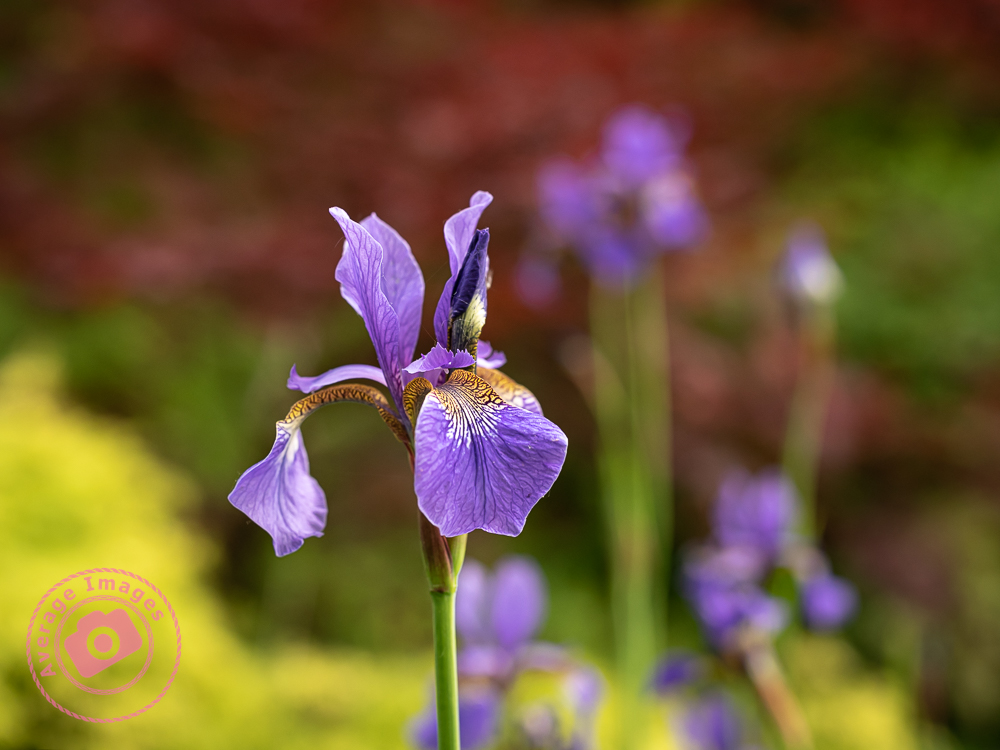
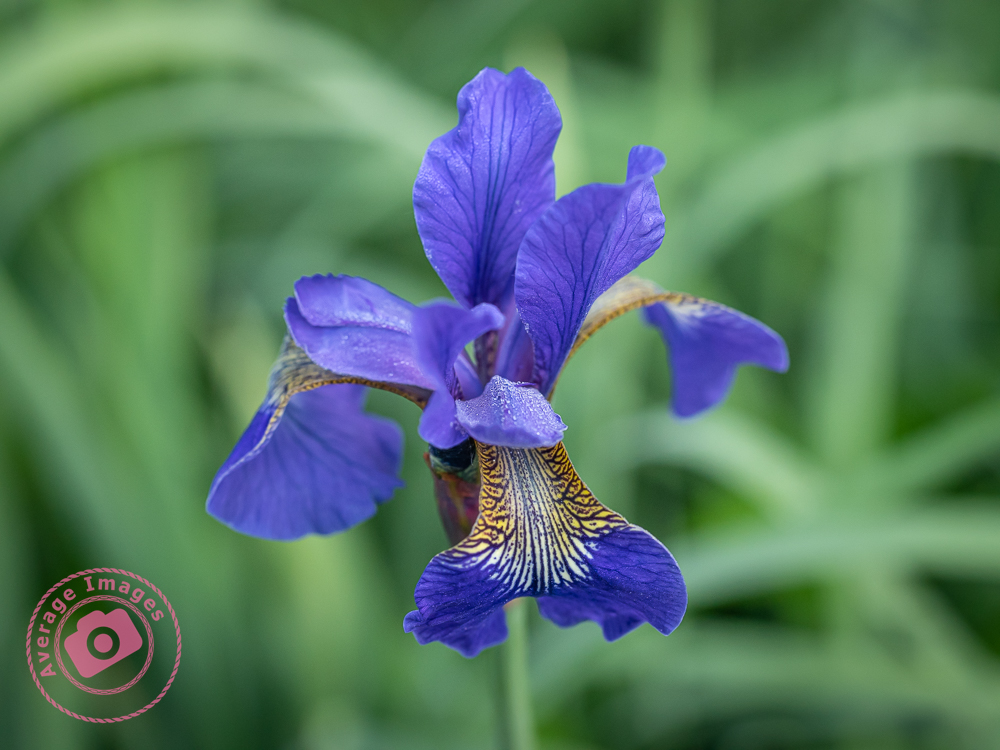
Siberian Iris Iris sibirica
More of my early morning garden photography session will follow shortly…
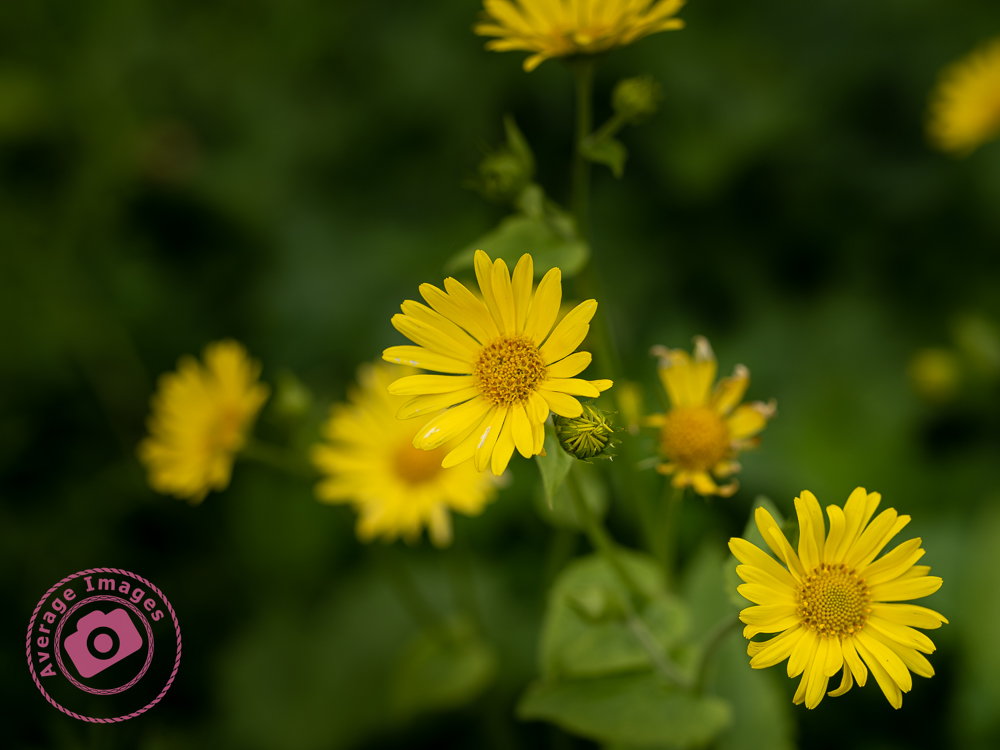
Leopard’s-bane is a perennial in the daisy family and grows almost like a weed in our garden.
Leopard’s-Bane Doronicum pardalianches
It is so-named (allegedly) because all the plants in this genus were once thought to be poisonous to animals, although why leopards were singled out is unclear.
When I view the image in detail I am still not overly happy with the focal sharpness which, I think, is due to me still not fully appreciating the reduced depth-of-field that you get with medium format in comparison to full frame or APS sensor cameras.
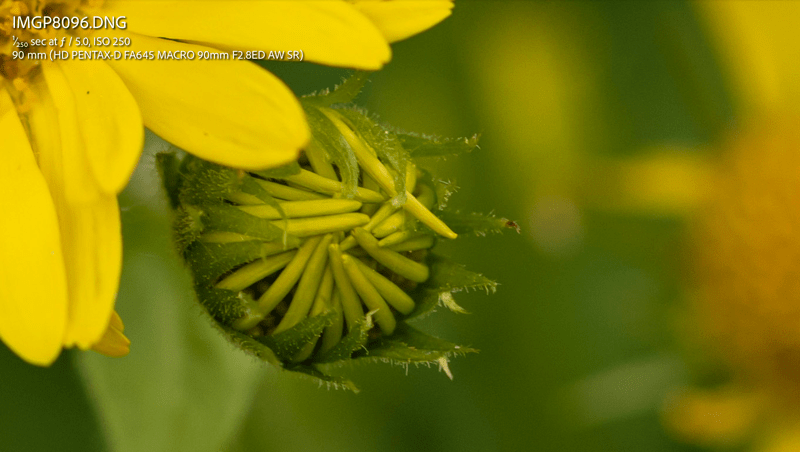
Don’t get me wrong; considering that it was a hand-held shot, when viewed at 200% (see below) the selected areas are tack sharp – it’s just that the depth of focus isn’t there and this requires some further learning on my part.
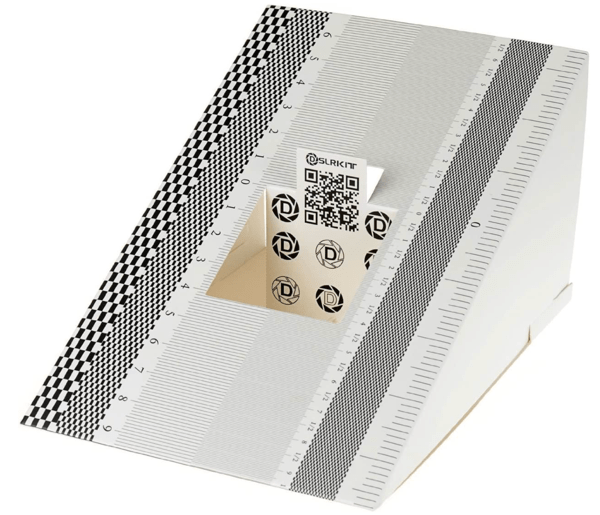
To this aim I have ordered a simple focus target wedge so that I can run some trials with each lens in order to understand the depth of focus at different apertures for each one.
I’ll publish the results of these trials once complete.