
Once you have completed your set of Painting with light images, you can import those images from your camera into your chosen post-processing software. If you use presets during the import process, ensure they apply to every image in the set.
Personally, I import into Adobe Lightroom. I can then quickly scan through the images and delete duplicates or apparent failures. It is crucial at this stage not to crop any of the images or make any adjustments that will make it difficult to blend in with the others (white balance, for example) later on.
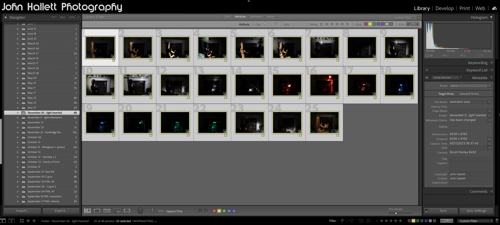
Because I will be using multiple images and blending them into one composite, I need to work with layers – and since Lightroom cannot do that (yet), I transfer the chosen images into Adobe Photoshop for the actual creation of the composite. To do this, I select them all, right-click and choose ‘Edit in Photoshop as individual layers’. This will open Photoshop with all the shots as one file in a series of layers created from each torch-lit shot.
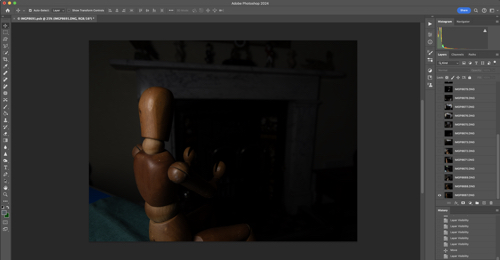
At this point, you can do some housekeeping of the layers. For example, change the order they show or label them with identifying names. You also need to switch off the visibility of all layers (apart from your background layer) so that you can build up the composite one by one.

As you save this file in Photoshop during post-processing, it will automatically show in Lightroom, making it very handy for subsequent cataloguing and exporting. I will cover the post-processing in the next blog post.
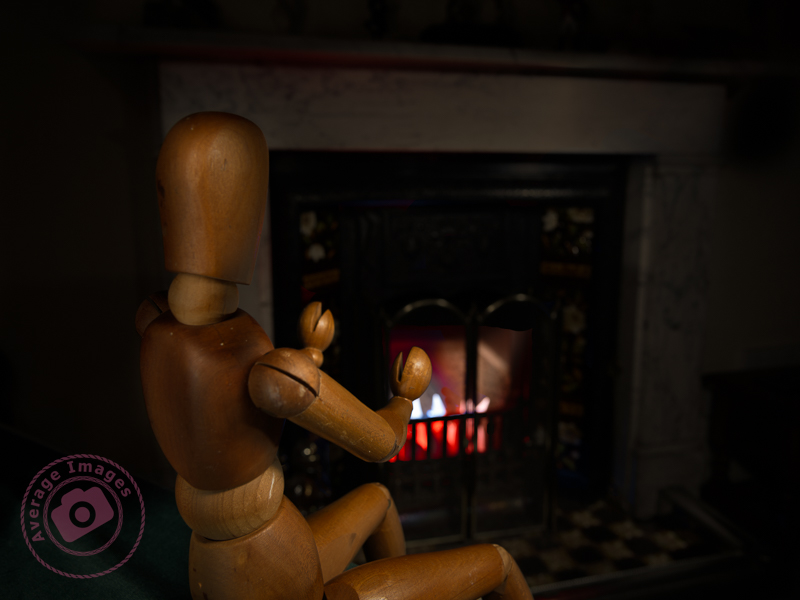
The featured shot “Warm hands” uses a phenomena called ‘Extension Distortion‘, which is a type of perspective distortion caused by wide angle lenses. It makes nearby objects appear much larger than they actually are compared to the background. I used it here to make the mannequin (which is only 40cm tall) look life-size, compared with the large fireplace behind, by using a 30mm focal length, with the camera positioned quite close to the subject.
We stopped using the fireplace last year due to smokeless fuel (which is pretty much all that you can get now) burning so badly, and giving out so little heat, that it isn’t worth the time and effort lighting it. Therefore, to give the effect of a blazing fire, I placed some white paper into the fire grate and used coloured gels over the torch as I painted the light onto it.
This is one of the benefits of the Painting with light process – it would have been challenging to create the same effect with studio lighting.
Discover more from Ironbridge Images
Subscribe to get the latest posts sent to your email.

