
So what settings do we use for Painting with light? I think (or at least hope) that most people will already guess that we will be using some long shutter speeds and choosing these manually rather than letting the camera try to work it out. But what about the rest of the settings. There are no hard-and-fast rules, so here are the settings I tend to use, not forgetting the basic exposure triangle of sensitivity, aperture and shutter speed.
Top Tip: Turn down the brightness of your LCD preview screen otherwise, in the dark it will make your images seem very bright when, in actual fact, they may be underexposed. Alternatively, use your histogram rather than relying on the image.
Sensitivity (ISO):
Whenever you are taking long exposures in low light there is always a risk of getting too much noise (which manifests itself as a grainy appearance on the image). Therefore you ideally need as low an ISO as possible, and so I always aim to use ISO 100 as standard (which goes back to my days of using film). Of course, there may be instances when you need use a higher ISO, but always bear in mind the noise it will introduce.
Post-processing may have noise reduction settings built in, but they always come with a price of increased softness (although the latest Adobe Denoise addition to Lightroom Classic does an exceedingly good job).
Aperture:
The aperture chosen depends very much on how much of the shot you want to be in focus (as with any other genre of photography) whilst bearing in mind that the smaller the aperture, the longer the exposure time will need to be. As a general rule though, an aperture of f/8 to f/11 will be fine.
Shutter speed:
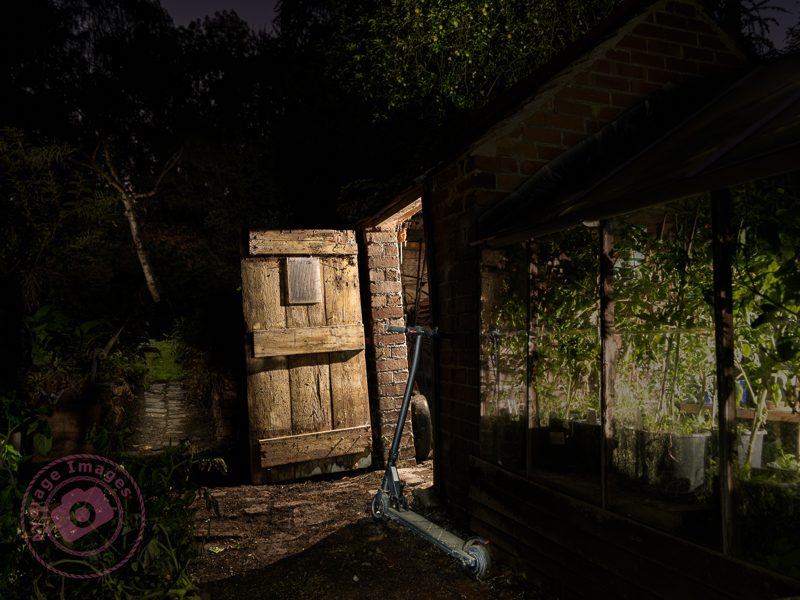
You will be using a shutter speed of seconds rather than portions of a second. The exposure of each shot will be dictated by the intensity of the light from your torch and the surface being lit rather than the length of time that the shutter is open. A glossy white surface (e.g. a painted wall) will take much less exposure time than a rough, matt and dark surface (e.g. the bark on an old tree). You will be using the ‘Bulb’ setting on your camera which keeps the shutter open whilst you walk around the shot with your torch.
The exposure time of the image will be dictated by how long you shine your torch at the surface being lit. Generally this will be between 5 and 10 seconds. Don’t leave the shutter open in bulb mode for more than a minute though, otherwise ambient light (from the moon, stars, street lights, etc) will start to lighten the overall image.
White balance:
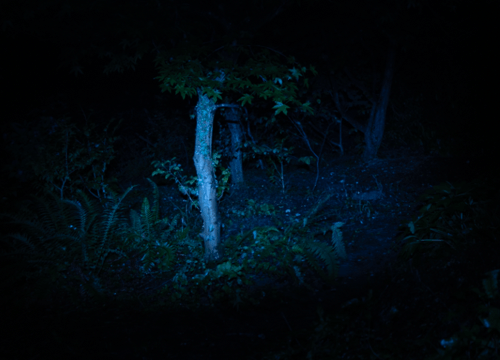
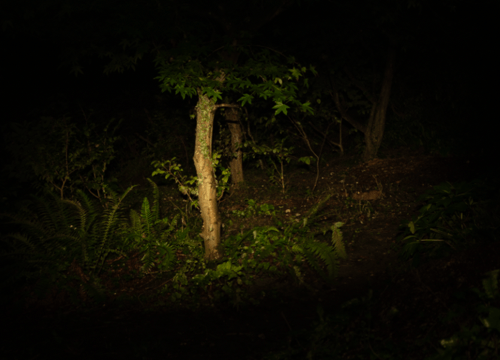
The white balance chosen can have a drastic effect on the ‘mood’ of the image because it controls the overall colour cast. In the early stages you may wish to leave it set on ‘auto’, but as you progress you may decide to choose it manually, with lower settings (around 2500K) producing a cooler/bluer image, whilst higher settings (around 10,000K) producing a warmer, orange image. It is all down to personal preference.

Of course, if you shoot in RAW (see below) you can adjust this easily in post-processing.
Shoot RAW:
With this type of photography you really want to retain as much data as possible from the image file, especially as you will be post-processing the image later on. Whenever possible always shoot RAW (rather than JPEG). This will also give you the option to adjust the white balance (see above) in post-processing to alter the overall colour balance of the shot or, if you follow my advice to shoot numerous images to blend together, to alter the colour balance in specific parts of the image.
Focussing:
You don’t want your camera hunting for a focus point in the dark every time you press your shutter button so either focus manually or use back-button focussing (whilst shining your torch on the focus point).
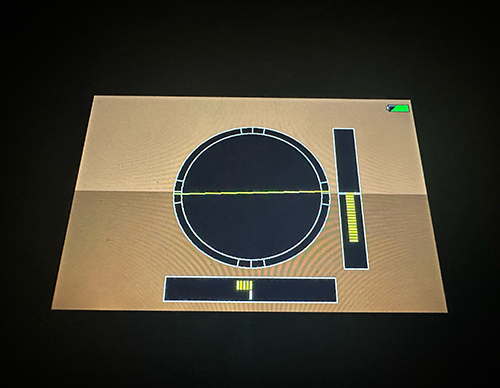
Horizon:
It is easy to become slightly disoriented in the dark and, without being able to see the image clearly in the viewfinder, set up the camera on a tilt – which is only apparent when you get home and view your images on your monitor. Of course, you can align the image in post-processing but, at the same time, you will end up cropping off the corners.
It is far better to use the electronic horizon (if your camera has that option) and levelling the camera on your tripod before you start.
Discover more from Ironbridge Images
Subscribe to get the latest posts sent to your email.

